Web Development for Artists: 4
Previous: Web Development for Artists: 3
Hi, high five, high and hello. I had a feeling I'd see you back here before too long. Welcome back, dear student. How are you feeling about learning today?
Today we are destined to create an image gallery page for your independent website. Part of this process should already be familiar: creating a new page and opening its HTML in the text editor of the Neocities dashboard. We'll also practice some new skills: managing your website's image assets and learning to write HTML tags by hand.
Let's start where we should: what in the ass is an asset? My heavens! I'm glad you've asked. An asset is another term used to describe one of the files that make up your website. Web people usually refer to images or other files that are loaded by the HTML files as "assets". It is also common to organize these files in a directory named assets.
If you have followed along in this series, then surely by now you can see something clearly– your website is just a collection of files that are linked together! Remember when we created the about page? All we had to do was add a file named about.html to our website's files. Then, as if by magic, we were able to access that page by navigating to the relative address of "/about". We even added a link to the about page from the home page, using this relative address for the link's reference.
Including images in your web pages follows a very similar process. We add the new image file to the website files, then we link to it from within another HTML page. Except instead of using a hypertext link tag as we did for the link to the about page, we will be using an image tag which will have the browser load and render the image file directly into the HTML page that references it.
Before we create the new gallery page and start editing it, let's upload some images to our Neocities website files. This way, as we've learned with HTML files, we can use relative links to link to these image files from the gallery page.
Find some small images to upload! Here are some web image guidelines:
- make sure each image is smaller than 1080 x 1920 pixels in resolution.
- make sure each image has a file size of about 100 kilobytes or smaller.
- Consider using the WebP image format by default. If you need an image conversion tool, I made a simple one that is available for free use at our web library.
Collect your images somewhere convenient on your computer first. You can upload them all at once this way.
Now it is time to create the directory structure that will organize these image files among the other files that make up your website. We are doing this to keep things tidy and make sure all the different files are always easy to find. Your images will be available at the relative address like "/assets/images/filename.webp".
Here's the step-by-step for how to create the directory structure for your website images:
- Open your Neocities Dashboard to the root "Home" directory (where you'll find index.html)
- click on the "New Folder" button
- Name the folder "assets" and click the "create" button
- Open the new assets folder by clicking on it from the dashboard
- click on the "New Folder" button again
- Name the nested folder "images" and click the "create" button
- Open the new images folder by clicking on it from the dashboard
You should now have the images directory open. Note that the path to this directory from the root (Home) directory is shown at the top of the dashboard's file browser:
Home > assets > images
This structure can also be represented with the relative path to the images directory:
/assets/images
Now you are ready to upload your images to this new directory. While you are still in the images directory, go ahead and click on the "upload" button and upload all of your images at once. You can also drag a bunch of images to this file preview area to upload them, if you prefer.
Be sure to navigate back to the root directory by clicking on the "Home" breadcrumb at the top of the Neocities dashboard file browser:

Before we get on to writing the image tags, we need to create the gallery.html page.
Do you remember how to create a new page and open its file? We did it in the previous lesson when we created the about page. We'll follow the same procedure here:
- Open your Neocities Dashboard to the root "Home" directory (where index.html resides)
- click on the "New File" button
- Name the file "gallery.html" and click the "create" button
- Open the file editor to edit gallery.html from the dashboard
Let's learn about these image tags. First, recall that hypertext links are like:
<a href="/about">about page</a>
Now, take a look at the syntax of the image tag:
<img src="/assets/images/drawing_001.webp" alt="Lisa and Gary" />
As you can see, an image tag has a few parts. The familiar parts are the familiar angle brackets that define the beginning and end of any HTML tag: <...>
The image tag is defined by using the characters "img" inside of the brackets.
An image tag must also contain a resource address, which is assigned as a string value, a string of characters in quotes, to the src attribute, like this: src="/assets/images/drawing_001.webp"
An image tag can optionally contain other attributes with this string of characters in quotes assigned to them. The most common optional attribute to include in an image tag is the alt attribute. The string assigned to the alt attribute should be a short, screen-reader-friendly description of the image.
One final note about an image tag is that it is a type of tag called a "self-closing tag" because instead of having a separate end tag (something like </img>) the image tag has a slash before its closing angle bracket, as you can see in the proper image tag syntax:
<img src="/assets/images/drawing_001.webp" alt="Lisa and Gary" />
Now you know how to write an image tag by hand!
Go ahead and add image tags to gallery.html. Copying and pasting is fine for getting started as we did earlier, but if you want things to be easier in the long-run: practice typing tags by hand several times; if you do, each new type of HTML tag will become an artefact of your semantic memory which will make it much less cognitively expensive to work around HTML.
A quick side note about manual repetition and "code as a second language":
Remember in the movie "The Matrix" when someone tells our hero (who is looking at alien characters running down the screen), that after a while, you don't even see code? That after a while, it just looks like a blonde, a brunette, or a red-head? I can attest to this phenomenon with various documents written in computer "code". In order to not be overwhelmed by the obscurity of an encoded document, all you have to do is treat it like a language learning exercise. Manual repetition when writing code is important and very valuable in the long-run! Otherwise, attempting to translate everything on the fly with references can get to be cognitively overwhelming and will cause any higher-level understanding to dissipate into incoherence pretty quickly.
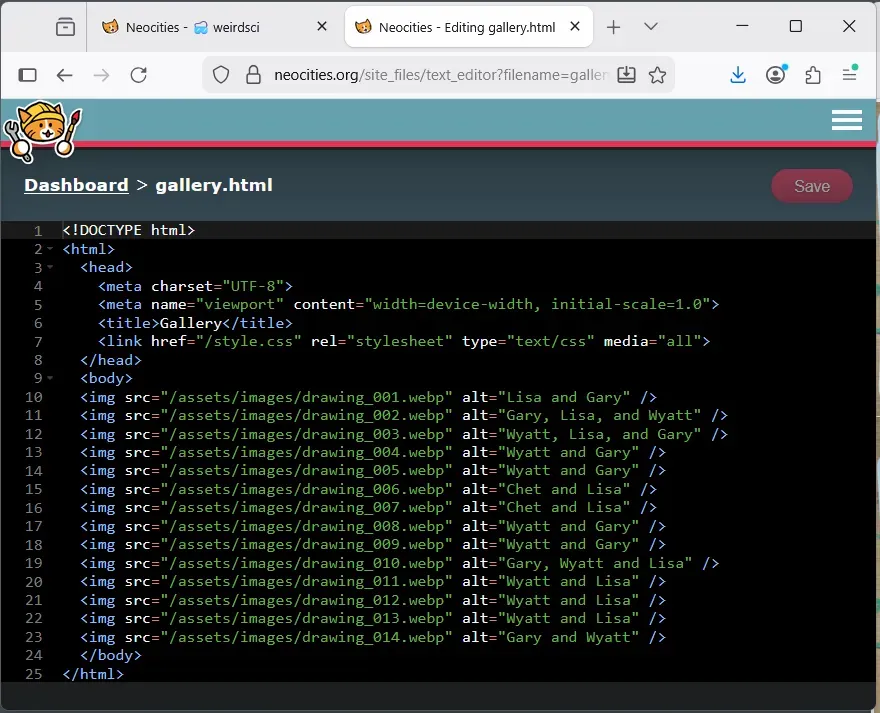
Now your gallery.html file should have a list of image tags with each of their src attribute set to the relative address of a different image. It will look something like this:
And if you navigate to the /gallery page, you should see your images. They will all be rendered at their native size, one after the other. Here's what mine looks like when zoomed out:
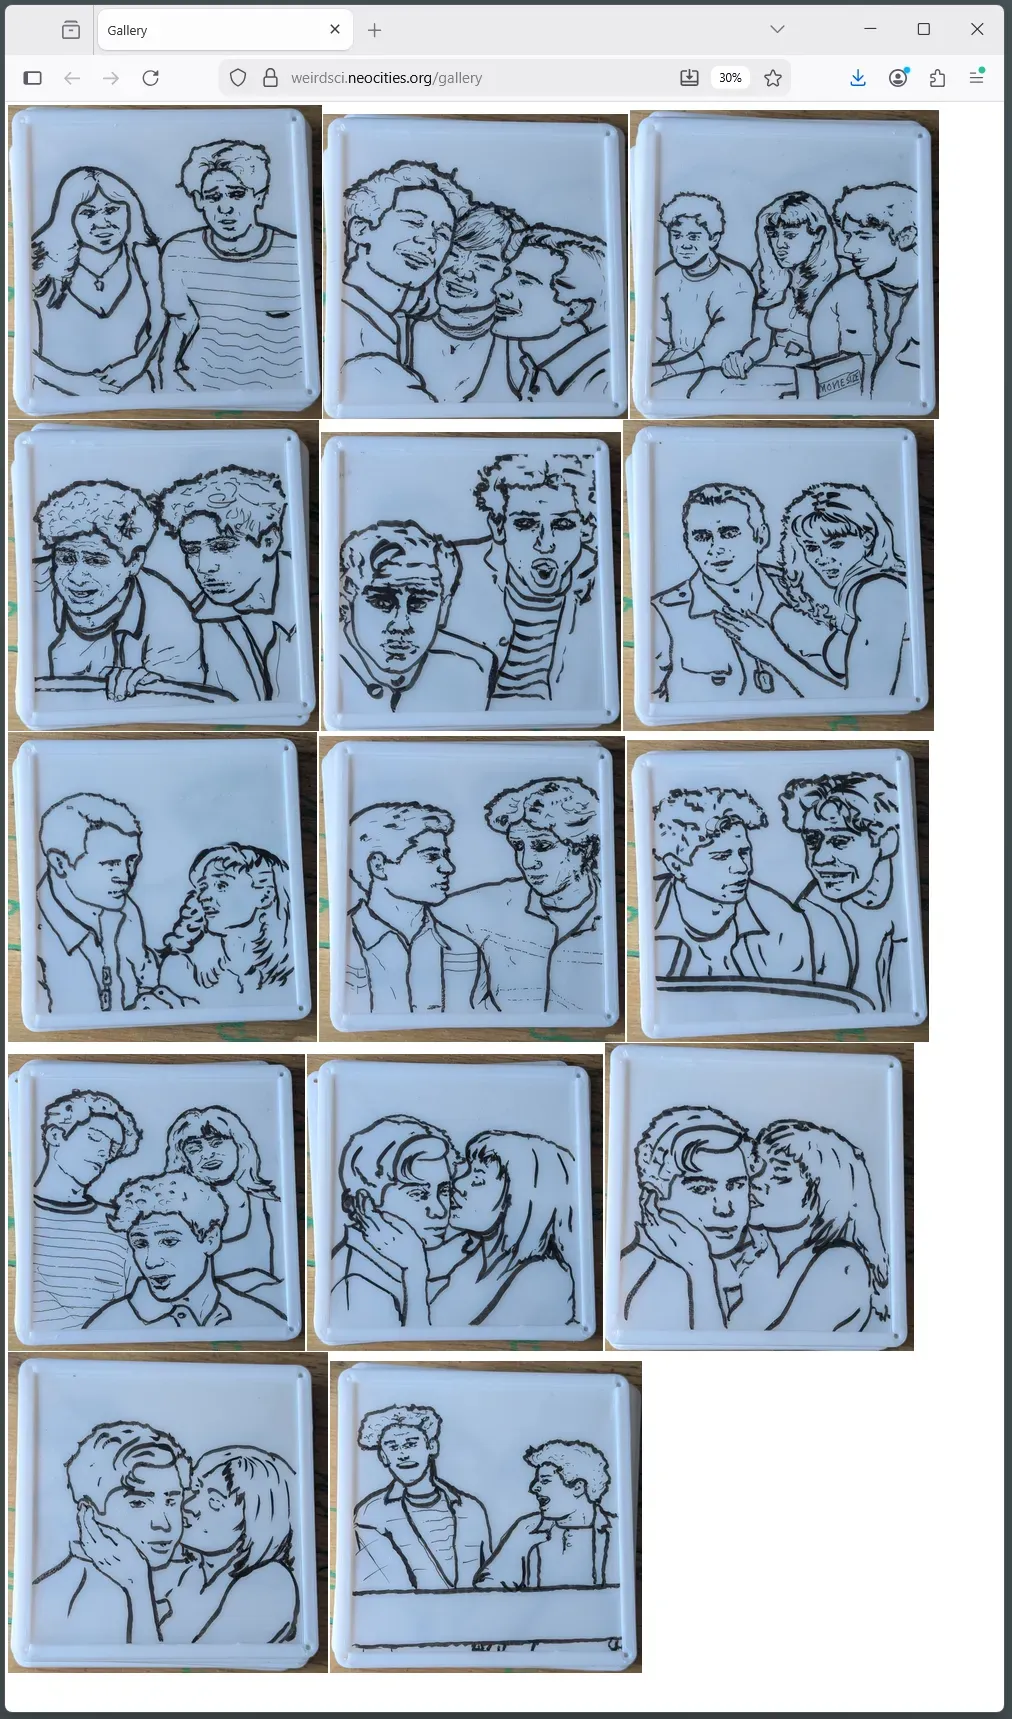
The images are on the page! At this stage, they aren't yet presented in an aesthetically pleasing or accesible way. We'll tackle that in the next lesson when we learn about an easy way to handle layout and styles on your site.
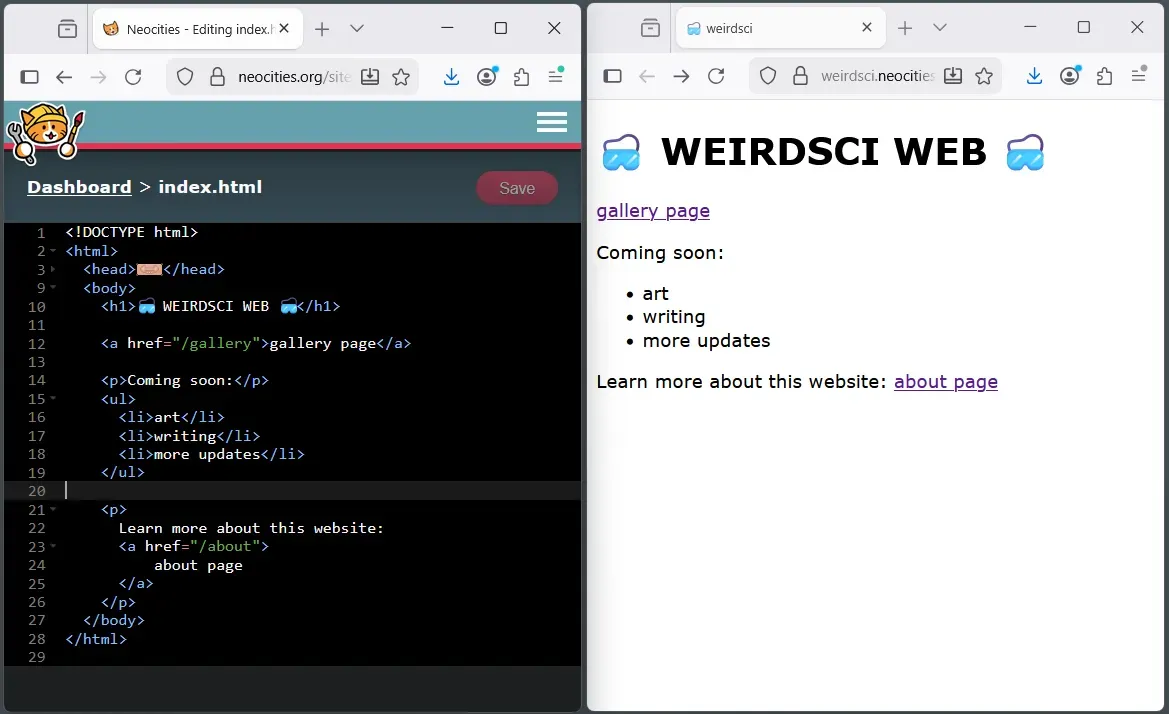
Alright one last thing before we wrap up here. We need to add a link to the gallery page on our home page (index.html). Go ahead and open index.html in the editor and manually type this line to add a link to the new gallery page:
<a href="/gallery">gallery page</a>
And now your index.html and home page will look something like this:
So that's all for now, folks. Thank you for coming in today.
If you've followed along, you should now have a gallery page that presents images, and a link to the new gallery page from your main home page. You've learned to write HTML code by hand and also about best practices considering images on the web. Way to go, yo. Give yourself a big pat on the back!
Next time we'll figure out how we can add some modern styles without having to take a deep learning detour into the world of CSS. Instead, we'll skip ahead to using a technology that makes modern styling easy and is very popular among professionals.
<3 Grant